

Create Branded Visuals With Pixlr
Consistent visuals can make a small business, blog, store, or personal brand easier to recognize. But consistency does not mean every image needs to look identical. It means the colors, tone, layout, and message feel connected across your website, social posts, emails, and promotions.
Pixlr provides online image editing and creative tools that can support everyday visual work, including photo adjustments, templates, AI-assisted edits, background removal, collage creation, and image generation.
This guide shows how to build a practical branded-content workflow with Pixlr, how to create reusable designs, and what to check before publishing images for a business or campaign.
Build a Simple Visual System First
You do not need a large brand guide before creating better visuals. Start with a small set of choices that can be repeated across your content.
For example, choose a limited color palette, one or two font styles, a preferred image tone, and a few layout patterns for posts or articles. This gives your images a recognizable structure without making every design look the same.
| Brand element | Why it matters | Simple starting point |
|---|---|---|
| Color palette | Helps images feel connected across platforms. | Choose two main colors and one neutral color. |
| Font style | Keeps text readable and visually consistent. | Use one headline font and one body-text font. |
| Image treatment | Creates a recognizable mood or style. | Use similar brightness, contrast, and crop style. |
| Logo placement | Helps viewers recognize the source of the content. | Use it only where it supports the design, not on every image. |
| Template layout | Saves time when creating repeated content. | Create one layout for articles, one for offers, and one for quotes. |
A small visual system can make content creation faster because you do not need to start from a blank page every time.
Create Reusable Templates
Templates are useful when you publish the same type of content regularly. This may include blog feature images, announcement posts, product updates, customer quotes, educational graphics, or promotional banners.
Pixlr supports layer-based editing, which can be useful when you want to keep text, images, logos, and background elements separate for future updates.
- Create a base layout with your preferred background and spacing.
- Keep text boxes on separate layers.
- Use image placeholders so photos can be changed quickly.
- Save editable versions before exporting final files.
- Create separate templates for square, vertical, and horizontal formats.
- Review each template on mobile before using it repeatedly.
Use Product Photos and Images More Effectively
Product and brand images should help viewers understand what you offer. A clear image with useful context is often more effective than an over-edited design with too many visual elements.
For product listings
Keep product details accurate. Crop distractions, correct lighting gently, and use backgrounds that make the item easy to identify. Avoid edits that change the product’s actual color, size, materials, or included features.
For service businesses
Use images that help explain the result, process, team, workspace, or customer benefit. Choose visuals that feel relevant instead of using generic graphics in every post.
For blog content
Create feature images that support the main topic. Use a clear headline, a simple visual focus, and enough empty space that the design remains readable on smaller screens.
For social campaigns
Keep the main idea visible quickly. One image should normally communicate one message, not several unrelated offers or paragraphs of text.
Use AI Features as a Supporting Tool
AI-assisted image tools can be helpful when they reduce repetitive work or help you create a starting point for a campaign. They should still be reviewed by a person before the image is published.
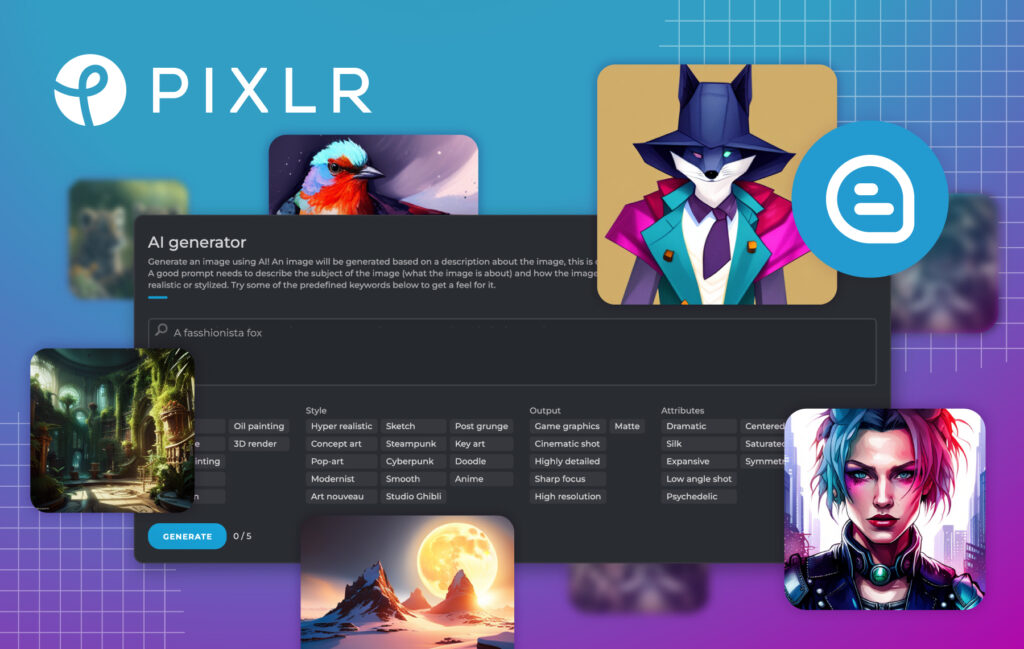
Pixlr includes AI features for image generation, background removal, object cleanup, generative fill, image expansion, and other editing tasks.
- Use background removal to create cleaner product or profile images.
- Use object removal to reduce unwanted visual clutter when it does not change the meaning of an image.
- Use generative fill or expansion to create extra design space around an existing subject.
- Use AI image generation for original visual concepts when you need a new scene or illustration.
- Check visual details closely before publishing, especially text, faces, hands, products, and logos.
- Do not create misleading visuals, fake testimonials, false product scenes, or unauthorized impersonations.
Plan Image Sizes for Each Platform
A visual can look strong in one place and weak in another if it is cropped badly or scaled too far. Plan your main formats before creating a large set of content.
| Platform area | Useful layout approach | What to avoid |
|---|---|---|
| Website banner | Use a wide layout with a focused subject and readable text. | Putting important text too close to the edges. | Blog feature image | Use a clear headline and a supporting image. | Using a busy photo that competes with the article title. | Square social post | Use one main message and visual point. | Adding small text that cannot be read on a phone. | Vertical story or reel cover | Keep important elements centered and high enough to avoid interface overlays. | Using a horizontal layout without adjusting the crop. | Email banner | Use a lightweight image that supports the message. | Uploading very large files that slow down email loading. |
Check the final image in the place where it will be published. Previewing only inside the editor is not enough to confirm that the layout works.
Create a Review Step Before Publishing
A short quality check can prevent many visual mistakes. This is especially important when images include product claims, prices, offers, customer photos, branded assets, or AI-generated content.
- Check spelling, dates, prices, and calls to action.
- Confirm that logos and product images are authorized for use.
- Review whether any edit changes the meaning of a real photo.
- Check whether the image looks clear on mobile.
- Confirm that the export format is suitable for the platform.
- Keep source files and approved final versions organized.
- Save editable layers when the design may need future updates.
This process is especially helpful for teams where more than one person creates, approves, or publishes content.
A Practical Pixlr Content Workflow
Use this workflow to create branded visuals without making every new post a full design project.
- Choose the content goal and publishing platform.
- Select a template that fits the content type.
- Add a licensed or original image that supports the message.
- Crop and adjust the image before adding text.
- Use AI-assisted tools only where they add a clear benefit.
- Review the design for readability, accuracy, and brand consistency.
- Export the right file type and size.
- Save the editable project and final approved image.
This workflow can help you publish more consistently while keeping the creative process manageable.
Explore Pixlr for Content Creation
Final Thoughts
Pixlr can be a useful option for creators and small teams that need browser-based tools for photo editing, content templates, AI-assisted design, and everyday visual production.
The strongest branded visuals are not always the most complex. They are clear, accurate, consistent, and designed for the platform where the audience will see them.
Use Pixlr to compare online creative tools and review the current features before building your visual workflow.
FAQ
Can Pixlr be used for branded social media content?
Yes. Pixlr can support image resizing, text overlays, photo edits, templates, collages, and other visual tasks for social media and website content.
Can I create reusable templates in Pixlr?
Yes. Layer-based projects can help you keep text, photos, logos, and background elements separate so you can update a design more easily later.
What should I check before publishing an edited product image?
Check that the product remains accurately represented, text is readable, the image is properly sized, and you have permission to use all visual assets.
Should I use AI-generated visuals for marketing?
AI-generated visuals can be useful for original concepts, but review the output carefully and avoid misleading, rights-infringing, or deceptive content.
Which image format should I export?
Choose the format based on the use case. JPG can work well for photos, PNG can suit graphics and transparent backgrounds, and WebP may be useful for web images when supported by your publishing workflow.
We only recommend tools we've tested and trust. This post may include affiliate links, meaning we may earn a commission if you choose to purchase - at no extra cost to you.


